
Many years of self tanning has given me the learned experience, the trials and errors, and the do’s and don’ts of self tanning. If you've decided to skip the organic approach in achieving that beautiful summer glow (which would be a wise and safer decision), and rather getting it from a bottle, then I hope that what I share with you through my own experiences will help you get the most out of your self tanner, and in turn, get your money’s worth!
*Disclosure: I only recommend products I would use myself and all opinions expressed here are my own. This post may contain affiliate links that at no additional cost to you, I may earn a small commission.
Maintaining a year-round tan can be hard work. From buying over-priced tan boosters, paying a monthly tanning salon membership fee, to finding time in your day to actually go to the salon can be tedious, expensive, and not to mention the associated health risks involved with sun bathing and tanning booths will have you second guessing whether being one to two shades darker is actually worth it.
Having a dark, golden tan has been the highly sought-out look for many Americans and Europeans alike since the 1920's. From the iconic fashionista, Coco Chanel, sun bathing on her yacht, to Hollywood celebrity, Cary Grant, laying out on his car hood in between sets, the golden era of tanning had brought with it the health risks we are warned about today. So how do we achieve the beautifully tanned skin without putting ourselves at increased risk of skin cancer?
Self tanning, sunless tanning, fake tan, fake baking, whatever you call it, has actually been around longer than you think it has. As more and more health care providers were finding associations with sun bathing and skin cancer, fake tanning lotions started making waves in the roaring 60's, as a safer alternative for men and women looking to achieve that healthy, wealthy tanned look.
Today, we have hundreds of self tanning products to choose from, so it can feel overwhelming to choose the best one that checks all your criteria for the ultimate self tanner. In this post, I will share the 7 best self tanners that will leave you feeling like a more confident, sexier you.
Best Overall Picks:
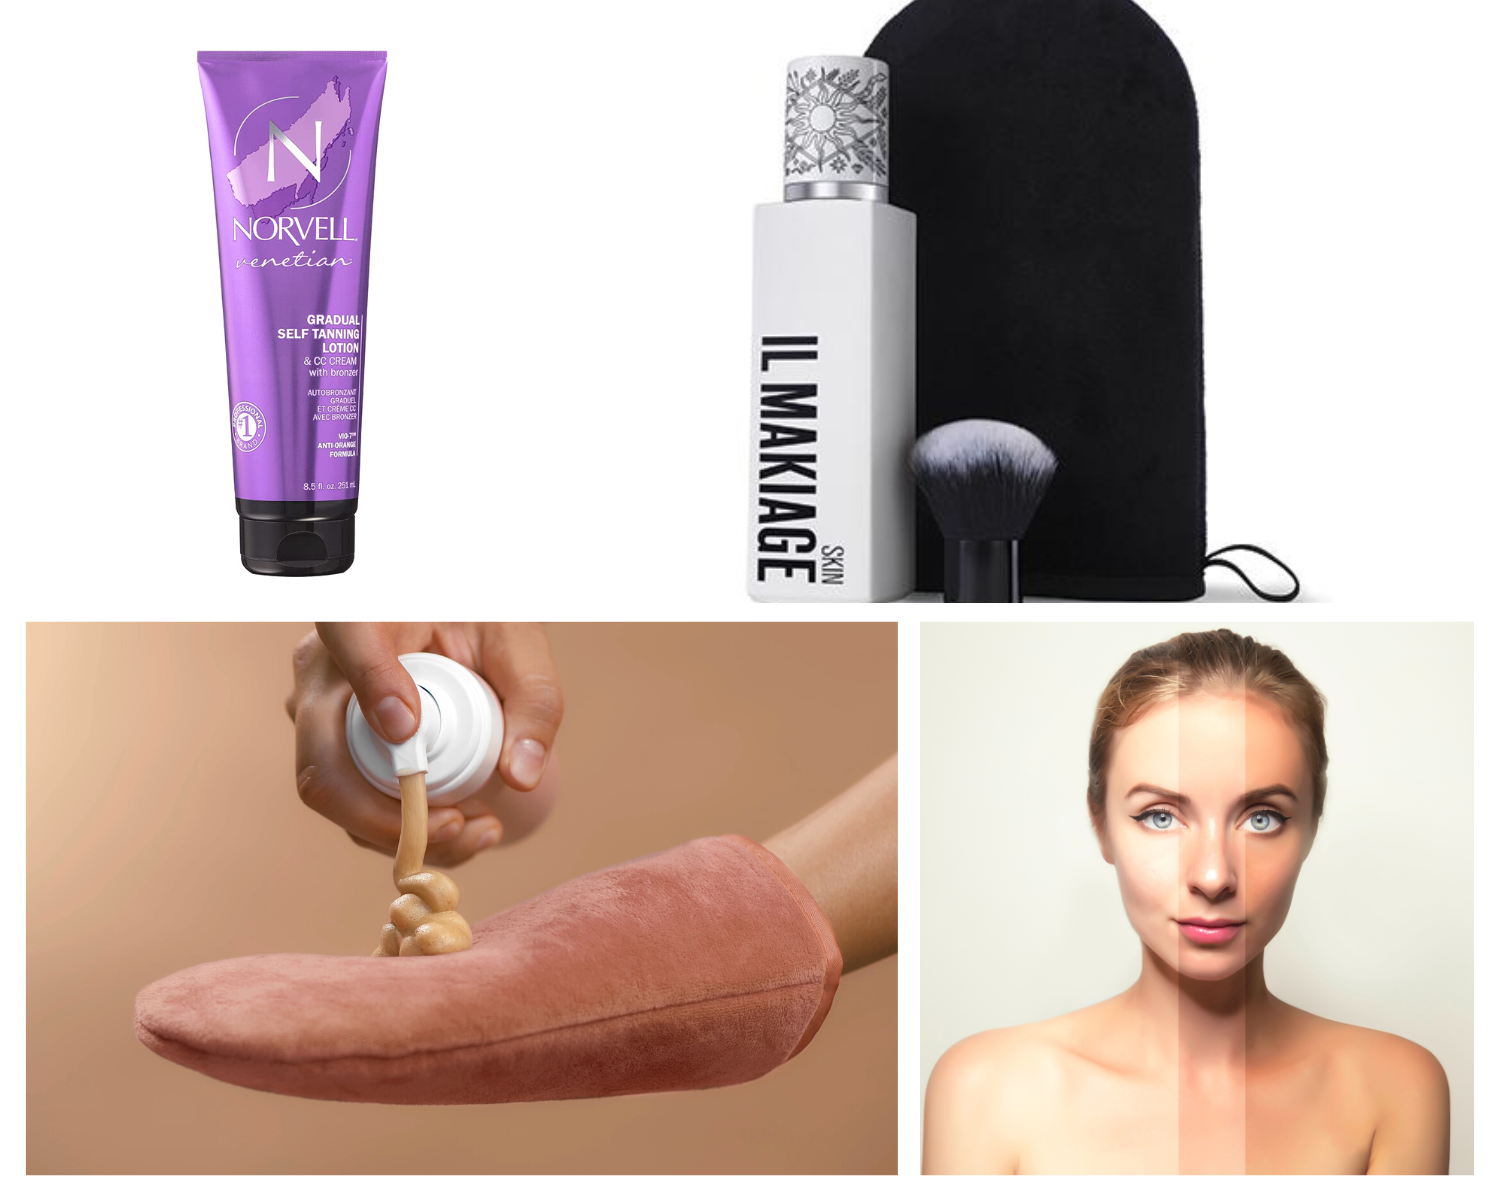
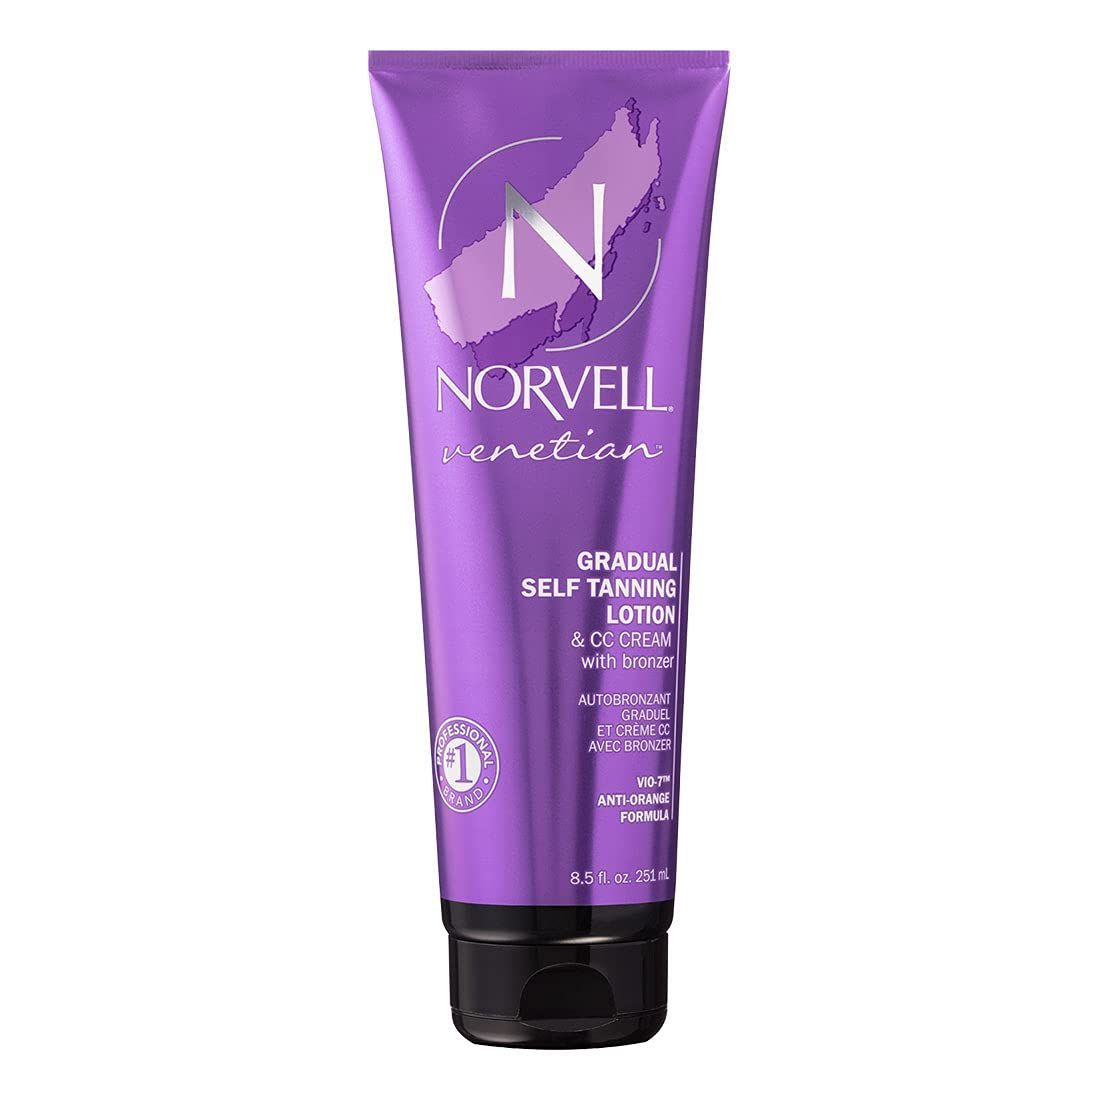
1. Norvell Venetian Gradual Self Tanning Lotion
2. IL Makiage Self tanning Mousse
Best Dark Tanners
1. Norvell Venetian Gradual Self Tanning Lotion and CC Cream
Pros:
- Smells great
- Goes on evenly
- Beautiful olive-color tan no matter what skin tone you are
- Color guide
- Smell is mild once activated on the skin, but goes away once you shower
- Color lasts about 7 days
- No streaking
- Super hydrating
- Contains CC cream
- Even fade
- You can go out after applying due to its coconut smell and beautiful application in the development process
Cons:
- Takes time to dry
- Color transfer
- Pricey
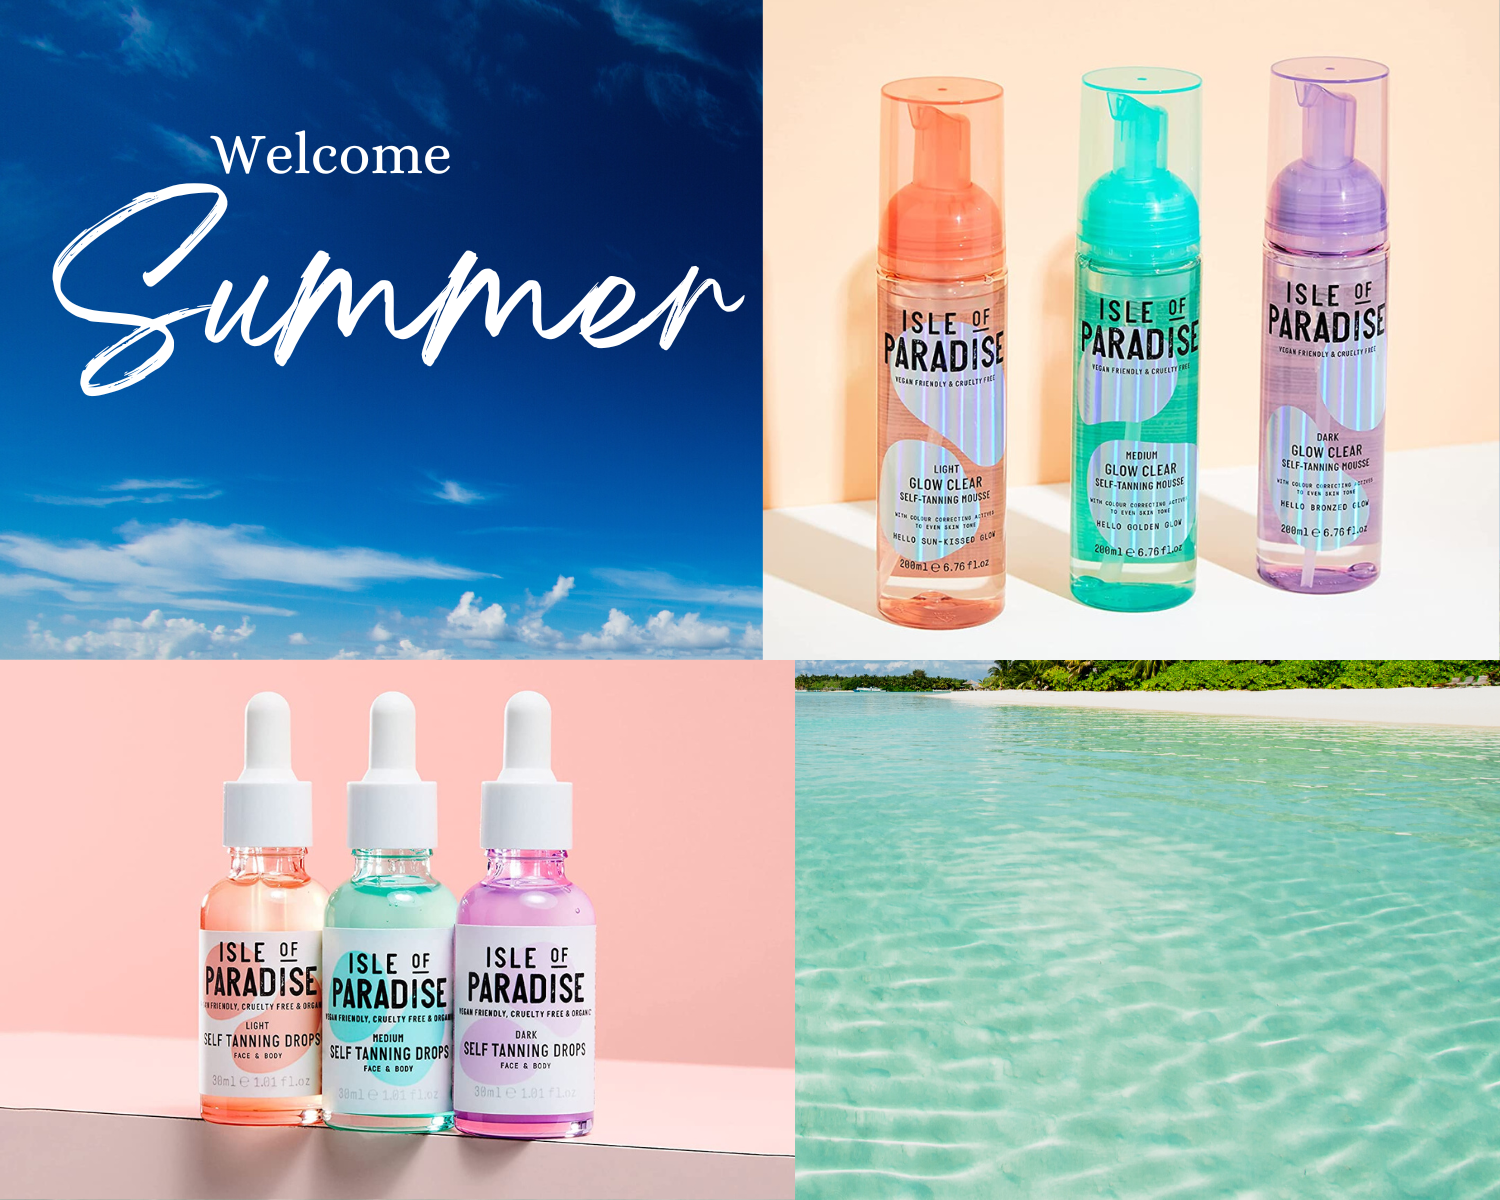
2. Isle of Paradise ($32)
Pros:
- Great color development
- No color transfer due to clear product
- No staining clothes or towels
- Fast drying
- Affordable price
- Fades evenly
- Color lasts a really long time
- Note: For their tanning drops, a little goes a long way and you can mix with your favorite lotion for an even application
Cons:
- Smells like tanner once activated on the skin (but once you shower, smell completely goes away)
- No color guide so you can end up streaky if not thorough in your application
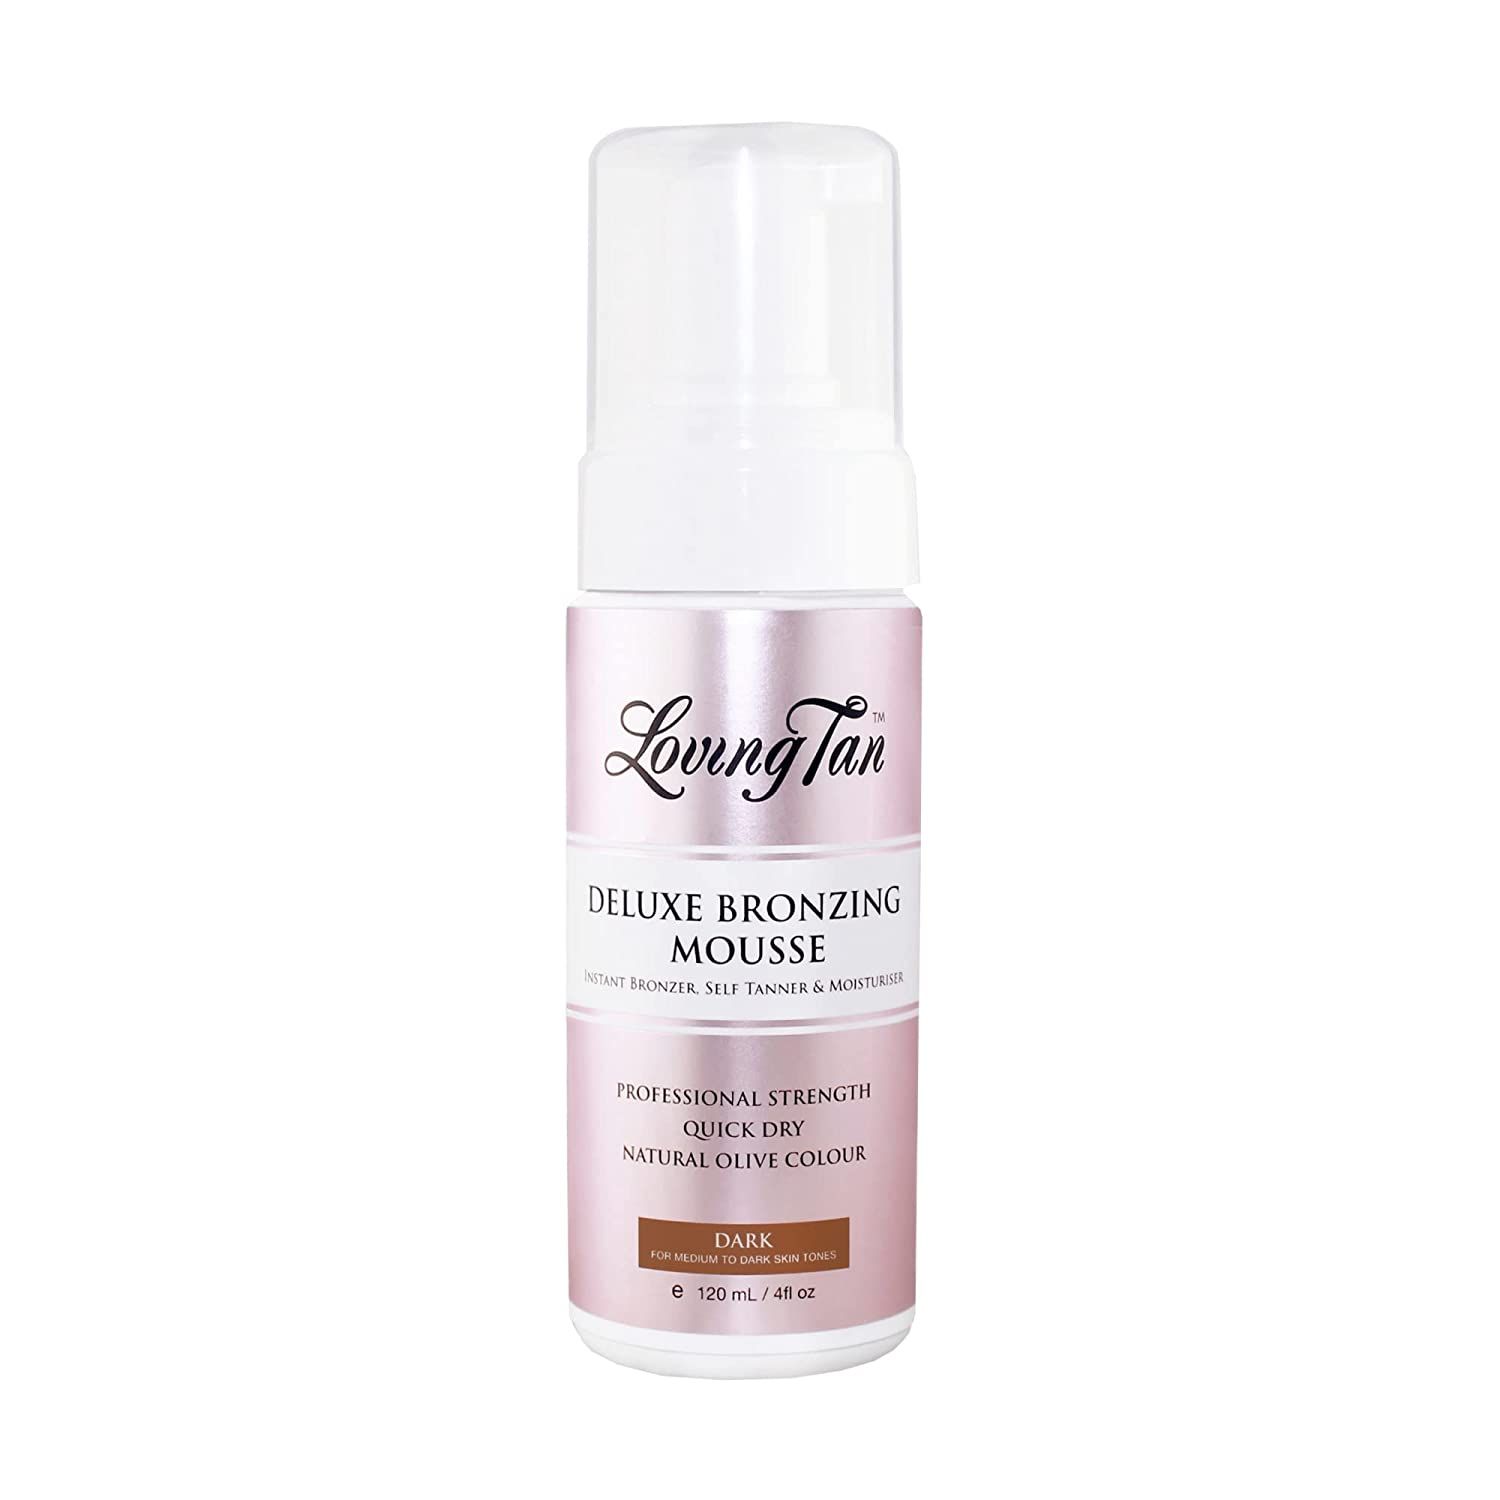
3. Loving Tan- Deluxe Tanning Mousse ($40)
Pros:
- Really dark color
- Fast color development
- Dries fast
- Color guide
- Even color development
- Color last for 5- 7 days
- They have 2-hour Express tan option available
Cons:
- Bad smell and gets worse the longer you have it on
- Clings aggressively to dryer areas
- Stains clothes
- Patchy fade
- Some streaking due to fast drying, especially the darker you go
- Pricey
*Side rant: The 2-hour tan is beautiful after applying it, but when you wash it off, its about 3 shades lighter, and you’re left with a very light and mild tan, application is ugly and can’t go out until you wash it off.
4. b.tan tanned AF ($10)

Pros:
- Dark color development
- Fast and even color development
- Affordable
- Fast drying
- Color guide
- Color lasts over a week
- Even fade
- Affordable
Cons:
- Bad smell immediately after applying and gets worse the longer you have it on
- Stains
- Takes a while to dry
- Makes your skin feel tacky
- Smell slightly lingers after showering, so need to apply a perfumed lotion, and be generous with your deodorant.
Best Natural-Medium Tanners
1. IL Makiage ($60)

Pros:
- Pleasant smell (I think it smells like makeup, which I don’t mind at all)
- No lingering self tanner smell
- Dries very quickly (almost too quickly)
- Color guide
- No streaking
- Doesn’t stain
- Even color development
- Color lasts a really long time
- SUPER natural color development (looks like you got kissed by the sun)
*You can confidently apply this and go out immediately after without the fear of smell or discoloration during developing process.
Cons:
- Super pricey
- Not a lot of product
- Need a lot of product for each tanning session (probably because it dries too fast)
2. Bipin ($25, Now $17.50)

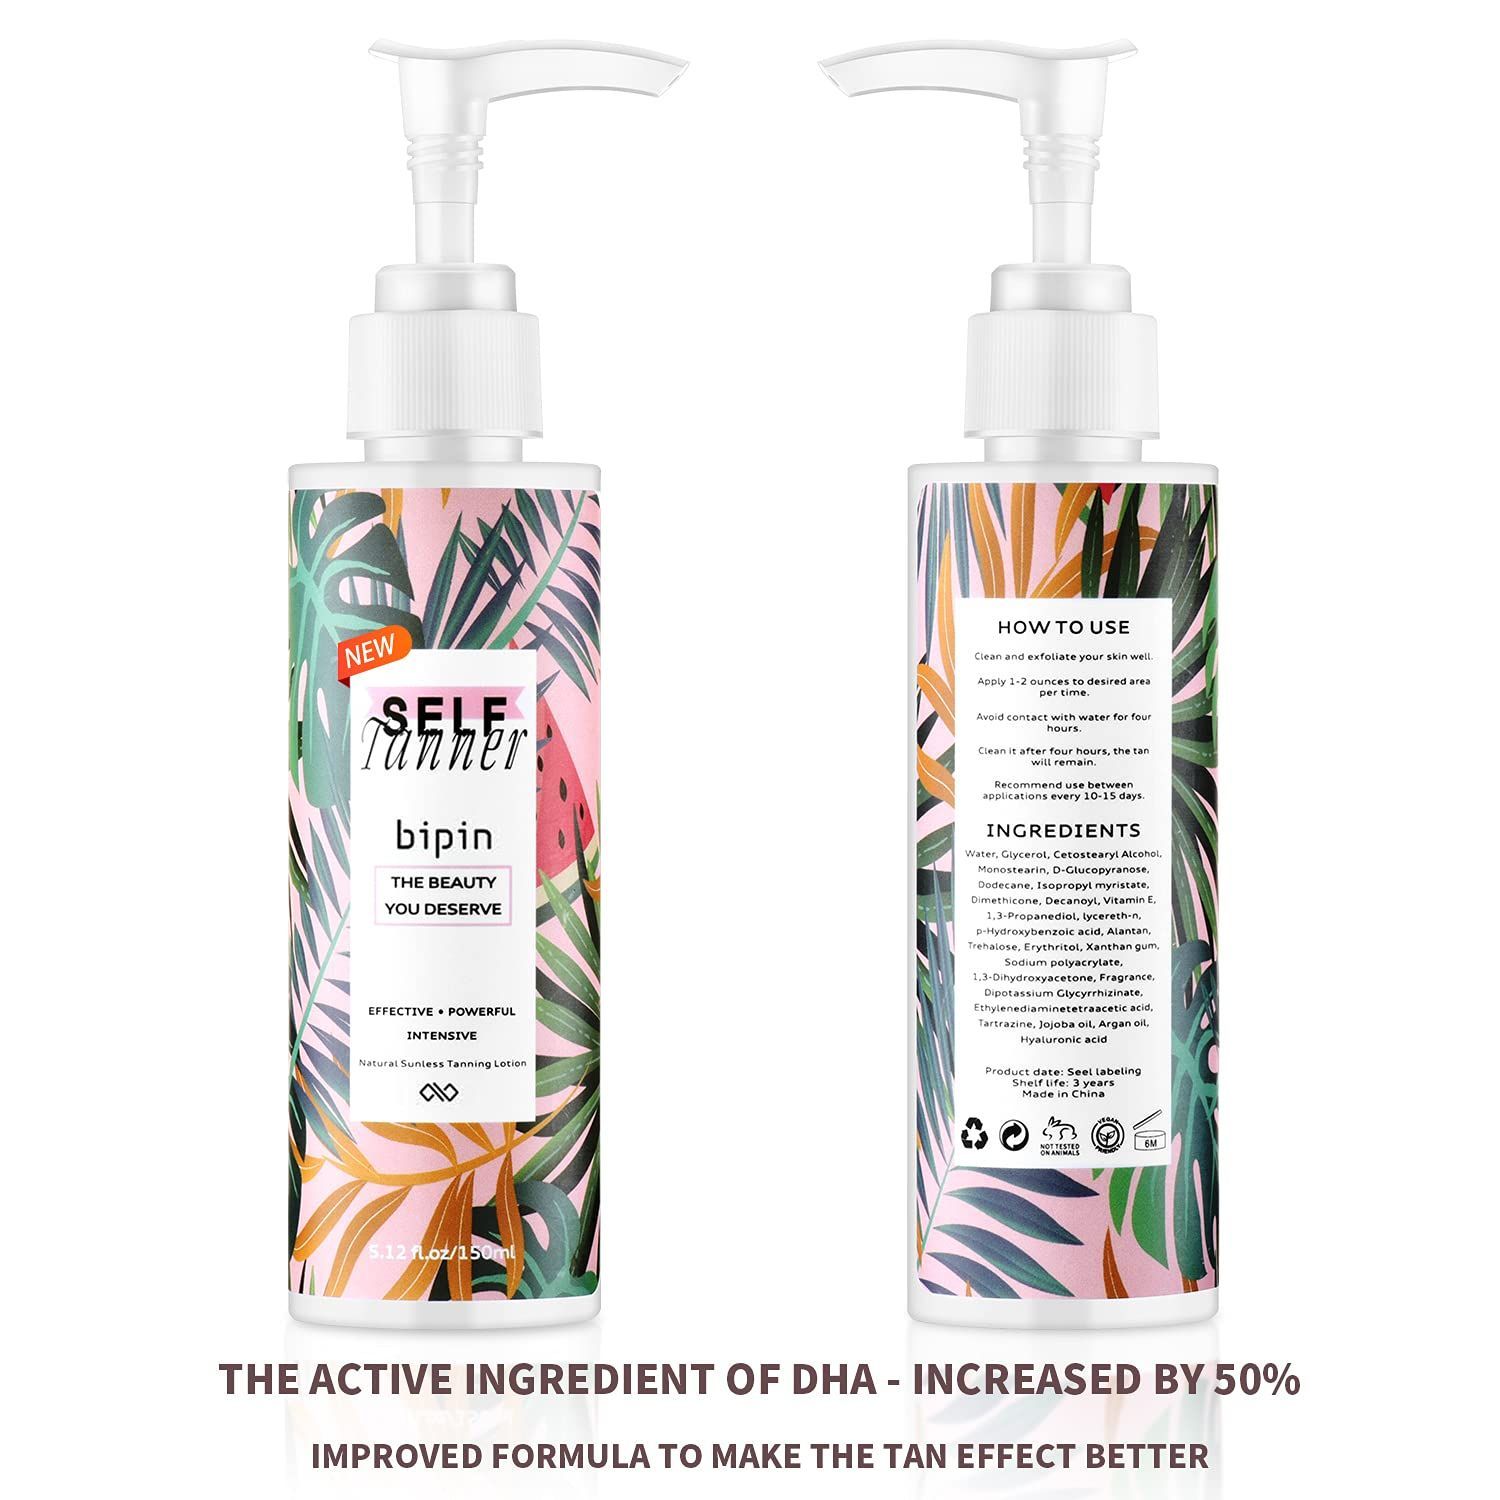
Pros:
- Super hydrating
- Goes on evenly
- Doesn’t streak even without a color guide
- Doesn’t stain
- Color lasts about a week
- Develops dark
- Affordable
- Fades evenly
Cons:
- Bad smell, but fades slightly as it develops
- Takes a while to dry
- Need a lot of product for each session
- One tube will lasts about 4 full-body applications
- Tanner smell lingers even after showering
* Since the last time I used Bipin a few months ago, they changed their product packaging from the first image to the second one, including changing the formula from a lotion to a mousse. I have not used their newer product, so I can't tell you how the two compare. I will include an update after testing the new one.
3. Skinerals Onyx Self Tanner ($28.50)
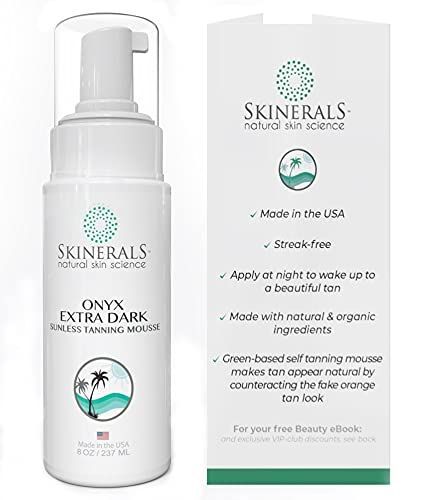
Pros:
- Versatility (can be used as an 1-hour tanner for a medium glow, or dark when leaving it on the full 6- 8 hours)
- Organic ingredients
- Great for sensitive skin
- Color guide
- Olive color tan
- Mild tanner smell
- Affordable
Cons:
- Darker colors can develop streaky if you missed some spots
- Stains
- Application is unsightly, so can’t go anywhere right after applying
- Aggressively adheres to dryer areas
Tips for the best self tanner application:
Before Tanning
- Exfoliate: Exfoliation can include using a scrub, shaving, waxing, and using a BHA or AHA. Exfoliation helps remove the top layer of dead skin so you’re tanning fresh skin in order to prolong your tan. If you choose to shave, your pores are agitated and open. If you are prone to strawberry legs like I am, wait a full 24 hours after shaving, epilating, or waxing to allow your pores to close up completely, otherwise, you have unsightly dark dots all over your legs where the tan settled.
- Tip: I have waited several hours after epilating or shaving my legs before I’ve applied self tanner, and I still would get dark spots when self tanning, so I’ve found the optimal time to apply self tanner is waiting a full day before I can self tan. If you epilate, you can also choose to apply self tanner BEFORE you epilate, and then follow up with epilating the next day or after you’ve washed off the tanner. Since epilating only removes the hair with no exfoliation involved, this is ok to do, and I’ve gotten great results with this method as well.
- Moisturize: Moisturize your feet, ankles, knees, hands, wrists, and elbows. I think this goes without saying, but these areas are much drier compared to the rest of your body, therefore, the color will intensify faster and darker in these areas.
- Tip: I find for fast-drying self tanners, these will adhere to the dry areas even faster and color more intensely, so a trick I learned to do was to wash my hands and feet a couple hours after applying the fast-drying tanners, and the color comes out looking very natural, no harsh lines, and cohesive with the rest of your body tan.
- Shower: After showering, wait a couple hours before applying tanner. You may think you’re dry, but your skin is still moist. I notice the tanner will go on faster and absorb quickly if its completely dry. You will know if your skin is still a little moist if the tanner is collecting in one area and won’t spread or it begins to pill.
- More Tips: Wear loose fitting clothes after applying and try not to sweat. Sweating will cause streaking, a stronger smell, and you will end up with a lighter color tan, and maybe even slightly orange for some tanners. So turn up the fan and don’t move around too much. If you tan before going to sleep, put an extra sheet, blanket, or towel under you because color guide or not, if you sweat in your sleep, the color will bleed onto your sheets and mattress. I learned that the hard way, unfortunately.
Aftercare
- While showering, do not exfoliate the skin. You’ve already exfoliated, and you will rub off some of the tanner. If the tan is particularly strong smelling, LIGHTLY and GENTLY scrub with a loofa or exfoliation mitts to remove some of that tanner smell that may linger.
- Go over your skin with a scented or perfumed lotion combined with a moisturizing lotion. The perfumed lotion will help further mask any lingering tanner smell.
- Keep your skin moisturized every day to avoid your tanner fading in patches, and to avoid your tanner turning orange towards the latter half of the tanner life. Orange color can develop with your natural body oil as time progresses, so it's not a It will be very hard to remove once you’re ready to reapply your tanner again, and your tan will look uneven, with areas darker than others. Those stubborn areas will also slough off faster than the fresher tanned areas, again, resulting in an uneven and splotchy looking tan.
- Tan extenders are your best friend. Using a tan extender is great for both saving product, money, and getting the most out of your self tanner sessions. Tan extenders are great for touch ups, boosting the color of a fading tan, and keeps your skin moisturized before its time for your next self tanning session.
Copyright YBeautify 2021